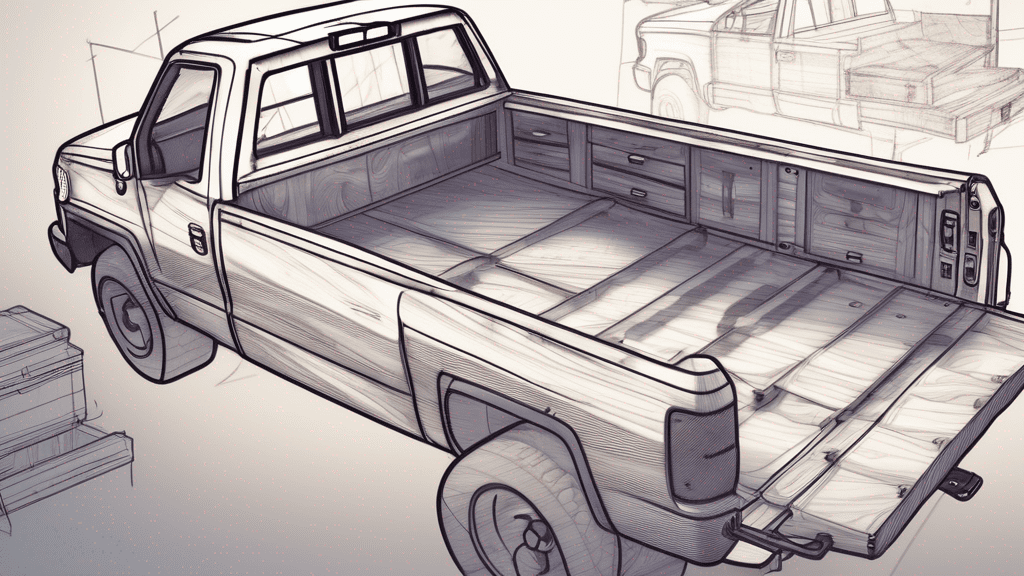
Are you passionate about enhancing your truck’s audio experience? I’m here to guide you through building your own subwoofer box, a fulfilling DIY project that not only saves money but also allows for personalization to your specific needs.
Understanding the importance of a custom subwoofer box is crucial in achieving that deep, resonant bass that music enthusiasts crave. Whether you’re a beginner or a seasoned DIYer, this guide will walk you through each step with simplicity and clarity.
Let’s embark on this journey to create a subwoofer box that will transform your truck’s audio system and make every drive an auditory delight. Let’s dive into the topic of how to build a subwoofer box for a truck?
When we talk about upgrading the audio system in a truck, one of the key elements you’ll hear about is a subwoofer box. But what exactly is it?
Well, think of a subwoofer box as a special home for your subwoofer. It’s not just any box; it’s designed to make sure that the bass sound from your subwoofer sounds deep, clear, and really awesome.
- Improves Sound Quality: The box helps to control the vibrations and echoes that the subwoofer makes. This means your music won’t just be loud; it’ll be clear and crisp, especially the bass parts.
- Protects Your Subwoofer: Besides making it sound great, the box also keeps your subwoofer safe. It’s like a protective shell, so bumps and turns on the road don’t damage it.
- 1. Sealed Boxes: These are like airtight rooms for your subwoofer. They’re great for clear and accurate bass sounds. If you like your music detailed and precise, this is for you. They’re also smaller, which is great for trucks where space might be limited.
- 2. Ported Boxes: These have a vent (or port) that lets some air in and out. This design makes the bass sound louder and more booming. If you love feeling the thump of the bass, a ported box might be your best choice.
- 3. Bandpass Boxes: A mix of sealed and ported, these boxes can really emphasize the bass. They’re a bit bigger and more complex, but if you’re after that super strong bass effect in your truck, bandpass boxes can do wonders.
The right choice depends on what kind of bass you like and how much space you have. If you’re unsure, think about the type of music you enjoy and how much room you can spare in your truck.
And if you’re looking for more information on choosing the right subwoofer, check out my article on the best subwoofer for truck. It’s full of helpful tips to find the perfect match for your audio needs!
Building a subwoofer box is like creating a special home for your bass to live in. To make sure it’s sturdy, sounds great, and lasts a long time, you’ll need the right stuff. Here’s a list of what you’ll need:
- MDF Wood: This is your go-to material for the box. Medium Density Fiberboard (MDF) is great because it’s strong and doesn’t vibrate much, which is perfect for clear bass.
- Screws: You’ll need these to put the pieces of wood together. Make sure they’re long enough to hold the wood tightly.
- Carpeting or Fabric: This is for covering the outside of your box. It makes it look nice and also helps with the acoustics.
- Speaker Terminal: You’ll need this to connect your subwoofer to your audio system.
- Sealant: To keep the box airtight, you’ll use this around the edges.
- Saw: For cutting the MDF to the right size. A circular saw or a jigsaw works well.
- Drill: You’ll need this for making holes for the screws.
- Screwdriver: To assemble the pieces with screws.
- Measuring Tape: Super important to measure your cuts accurately.
- Router (Optional): If you want to make more precise cuts or edges, this is handy.
- MDF Thickness: Go for MDF that’s at least ¾ inch thick. It’s more durable and better for sound quality.
- High-Quality Screws: Don’t skimp on the screws. You want them strong so your box stays together.
- Carpeting Choice: Pick a carpet that’s durable and matches your truck’s interior. It should be easy to work with too.
Building it Right: Remember, the quality of your subwoofer box can really affect the sound. A well-built box means better bass. So, take your time with choosing materials and building it.
If you’re curious about fitting a subwoofer into your truck, have a look at my guide on how to put a subwoofer in a truck. It’s packed with useful tips to get you started on this exciting project!
Designing a subwoofer box isn’t just about making it fit in your truck; it’s about making sure it sounds amazing too. A well-designed box can make a huge difference in your music experience. Let’s break down why the design matters and how you can calculate the perfect dimensions for your truck.
- Sound Quality: The shape and size of the box heavily influence how the bass sounds. Get it right, and you’ll feel every beat with crisp, deep bass.
- Fit in Your Truck: You want a box that fits snugly in your truck without taking up too much space. It should look like it belongs there.
- Measure Your Space: Start by measuring where you want to put the box in your truck. Remember, you need enough room for the box and a little extra space for air to flow.
- Know Your Subwoofer’s Specs: Each subwoofer has its own requirements for box volume (how much space is inside the box). You can usually find these in the subwoofer’s manual or manufacturer’s website.
- Decide on the Box Type: Are you going for a sealed, ported, or bandpass box? Each type needs a different amount of space to work best.
- Use a Box Calculator: There are many online calculators where you can input your measurements and get the ideal box dimensions. It’s a real time-saver and helps you get accurate numbers.
- Consider the Material Thickness: When calculating dimensions, remember to account for the thickness of the MDF or other materials you’re using.
A Tip from Me to You: When designing, think about the future too. You might want to upgrade your subwoofer later, so a little extra space could be helpful.
And if you’re looking for tips on where to place your subwoofer in your truck for the best sound, check out my article on where to put a sub in a truck. It’s full of great advice to get the most out of your audio setup!
Building your own subwoofer box can be really rewarding. Not only do you get a custom fit for your truck, but you also get the satisfaction of DIY. Here’s how you can do it:
- 1. Design Your Box: Based on the earlier steps, have your design ready. Know the type of box (sealed, ported, or bandpass) and the dimensions.
- 2. Cut the MDF: Using your saw, cut the MDF wood to the dimensions you’ve calculated. Be precise – accuracy here is key for a good fit.
- 3. Drill Holes for the Subwoofer and Terminal: Mark where your subwoofer and terminal will go. Carefully drill holes for these. Remember, the fit should be snug but not too tight.
- 4. Assemble the Box: Start putting the pieces together. Use screws and glue for a stronger hold. Make sure all joints are tight and secure.
- 5. Seal the Box: Once assembled, seal the box with sealant. This ensures no air escapes, which is especially important for sealed and bandpass boxes.
- 6. Install the Subwoofer: Place your subwoofer in the hole you’ve created for it. Secure it with screws.
- 7. Connect the Terminal: Attach the speaker terminal to the box and connect the wires to your subwoofer.
- 8. Cover the Box: Finally, cover your box with carpet or fabric. This not only makes it look good but also helps protect it.
- 9. Install in Your Truck: Place the box in the desired spot in your truck and connect it to your audio system.
A Helpful Tip: Remember, take your time and double-check your measurements. Patience is key in DIY projects like this.
If you’re wondering about the best subwoofers to use for your project, have a look at my guide on the best powered subwoofer for truck. It’s packed with recommendations to help you find the perfect match for your newly built box!
Now that you’ve built your subwoofer box, it’s time to test it out and fine-tune it for the perfect sound. Here’s how you can do it:
- After installing the subwoofer box in your truck, connect it to your audio system.
- Play some music with a good range of bass. It’s best to use a song you’re familiar with so you can really hear the difference.
Focus on the bass sounds. They should be clear and deep, not muddy or rattling.
If the bass sounds distorted or too weak, there might be adjustments needed.
Feel around the box while the music is playing. If you notice any vibrations from the box itself, it may not be sealed properly.
If the sound isn’t perfect, don’t worry! You might need to tweak the positioning of the box in your truck, or check the seals and joints of the box.
Sometimes, adjusting the settings on your audio system can also make a big difference.
After making adjustments, test the sound again. It’s all about trial and error to find that sweet spot.
Once you’re happy with the sound, sit back and enjoy. There’s something special about enjoying music that’s flowing through a subwoofer box you built yourself.
Remember This Tip: Quality sound setup is not just about the subwoofer box. It’s also about how it works with your truck’s acoustics and your audio system. So, be patient and willing to experiment a bit.
For those considering different subwoofer options, take a look at my guide on the best shallow subwoofer for truck. It offers great choices for trucks with limited space, ensuring you still get that deep, rich bass without compromising on space.
Taking care of your subwoofer box is key to enjoying that deep, resonant bass for years. Here’s what you can do to keep it in top shape:
Dust and dirt can affect the sound quality. Gently clean your subwoofer box with a soft cloth. Avoid using harsh chemicals that might damage the material or the finish.
Over time, vibrations from the bass can loosen screws and connections. Periodically check to make sure everything is tight and secure. Tighten any loose screws and ensure the subwoofer is still well-fitted in its spot.
Look for any signs of wear and tear, like cracks or splits in the wood. If you find any, it’s time to repair or replace the damaged parts.
Moisture is a big no-no for subwoofer boxes. Keep it dry to prevent warping or mold. If your truck gets damp, consider using moisture absorbers.
Pushing your subwoofer too hard can damage both the speaker and the box. Listen at reasonable volumes and avoid the temptation to max out the bass.
Every once in a while, take a moment to really listen to your subwoofer. If something sounds off, it might be time for a maintenance check.
A Handy Tip: Remember, taking care of your subwoofer box isn’t just about maintaining its appearance. It’s also about ensuring the best sound quality every time you turn on your music.
And if you’re thinking about adding more to your truck’s sound system, check out my guide on the best subwoofer for under truck seat. It’s full of great options for enhancing your audio setup without taking up much space.
Yes, you definitely can! Subwoofers can be installed in trucks to enhance the audio experience. You can choose from various types like under-seat subwoofers, shallow-mount ones, or larger ones to fit in the truck bed or cabin, depending on your space and sound preferences.
The cost of building a subwoofer box for a truck varies depending on materials and tools you already have. If starting from scratch, it can range from as little as $50 to $200 or more. This includes the cost of MDF wood, screws, carpeting, and any tools you might need to buy or rent. Keep in mind, if you choose higher-end materials or need special tools, the cost can go up.
The best subwoofer for a truck depends on your space and sound preferences. Compact, shallow-mount subwoofers are great for tight spaces, like under seats. For deeper bass, consider larger subwoofers if you have more room. Brands like JL Audio, Kenwood, and Rockford Fosgate are popular choices among truck owners.
The best size often depends on the available space in your truck and your desired sound quality. Common sizes range from 8 inches (great for tight spaces) to 12 inches or more (for more powerful bass). Consider the balance between space and sound performance when choosing.
The positioning of a subwoofer in a truck can significantly affect sound quality. Common placements include under the seat, in the corner of the truck bed, or behind the rear seats. The direction the subwoofer faces (towards the rear or front of the truck) can also impact the bass experience. Experiment with different positions to see which offers the best sound.
As we wrap up this guide on how to build a subwoofer box for a truck, I hope you feel inspired and equipped to embark on this rewarding DIY journey.
Building your own subwoofer box isn’t just about saving money; it’s about crafting a personalized audio experience that perfectly fits your truck and your style. The satisfaction of turning up the bass and enjoying the deep, rich sound from a box you built yourself is unparalleled.
Remember, every step, from selecting the right materials to the final adjustments, adds to the uniqueness and quality of your sound system.
This isn’t just a project; it’s an adventure in enhancing your truck’s audio capabilities. Embrace the process, learn as you go, and soon, you’ll be enjoying music in a way you never have before.
For those of you looking to further enhance your truck’s sound system, consider exploring options like a subwoofer for truck with amp. It’s a fantastic way to add even more depth and power to your audio setup.
And for more compact solutions, check out the best compact subwoofer for truck, ideal for smaller spaces without compromising on sound quality.
In the end, it’s all about the joy of creating something with your own hands and the thrill of experiencing music in its richest form in your truck. So go ahead, start building, and let the bass drop!